¶ User management
User registration
Users can be created, updated, deleted in administration module.
A user belongs to one (or more) group(s), and has one (or more) role(s).
User permissions are configured according to roles and groups associated.
- Groups are used to define the entities to which the user has access; in concrete terms, this translates into the display (or not) of an entry in the left-hand menu of the application in order to be able to access the entity's functionalities (e.g. create a type of register).
- Roles allow knowing the actions that the user has the right to perform on an entity (creation, reading, modification, display).
Groups and Roles are created from the entities available in the Administration module.
Creation form
For each user, it is necessary to define
- A Login which must be a unique value in the application
- An Email (used by default for password recovery)
- One (or more) group(s),
- One (or more) role(s)
The combination of group and role allows to define a user profile corresponding to a user story.

By default, an "admin" user is created. This user cannot be modified or deleted from the application.
¶ First connection email
A boolean is creation form can be used to indicate whether a first connection email will be sent to the new user. When user has be initialized it is still possible to resent this email by accessing to user case and clicking related button.
¶ Access settings
Access management
The setting of access rights is done in access settings menu by configuring available groups and roles.
- For each role, you must check the actions (create, read, update, delete ) to be made accessible to the different entities.
- For each entity, check the box allowing to give access to the users member of the group.

¶ Configuration replication
Access settings can be exported and loaded in another environment (instance of application) using “Import - Export” features. See below.
¶ Workflows
¶ Status
Status are used to manage Business Worklows. They are behaving like a machine-states.
Before to manage the status of en entity, you need to have added related component to the entity. See instructions.
¶ Create a status
To create a status, you must target the entity with the status component and complete:
- The name of the status
- The Button label (if not filled in, the name of the button will be the name of the status)
- The color used for the status display
It is possible to configure the access to set a status using the "Accepted groups" field. Only users associated with groups will be able to set the status. If no group is added, the status is not limited.
The first status must have the boolean "Is the default status" checked. This will be the default status displayed when a new object is created.
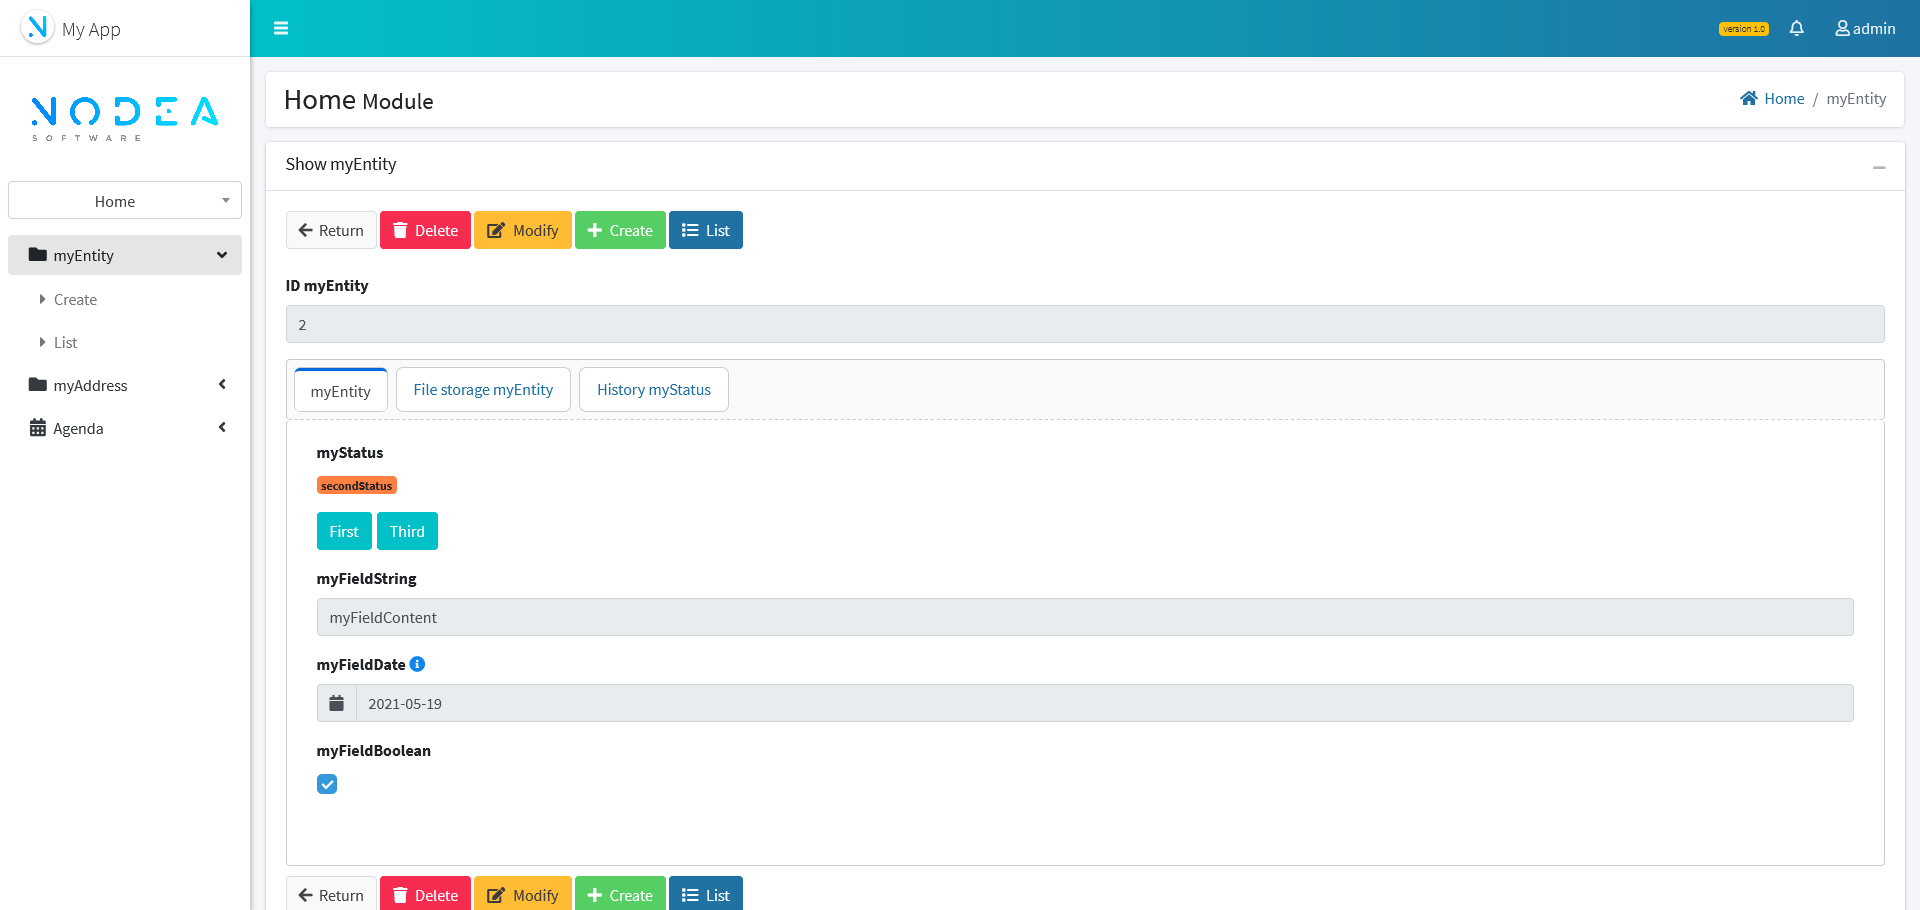
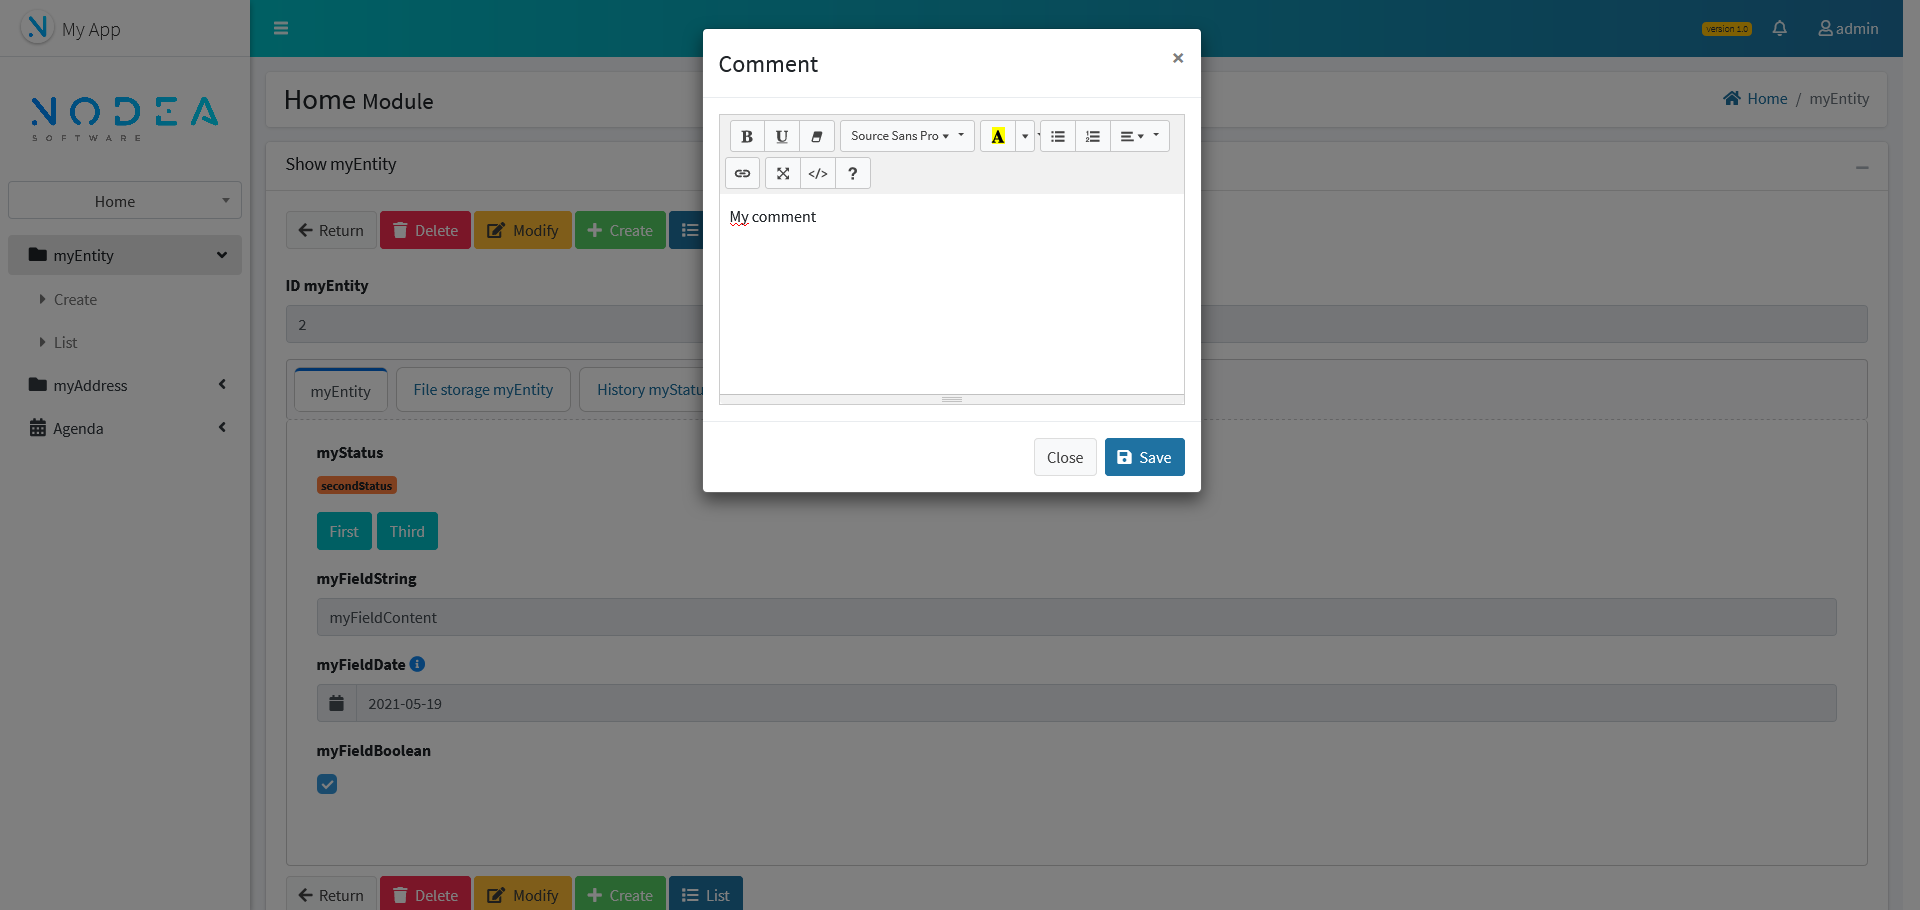
The Boolean “Comment” is used to enter a comment when changing status.
Configure children status
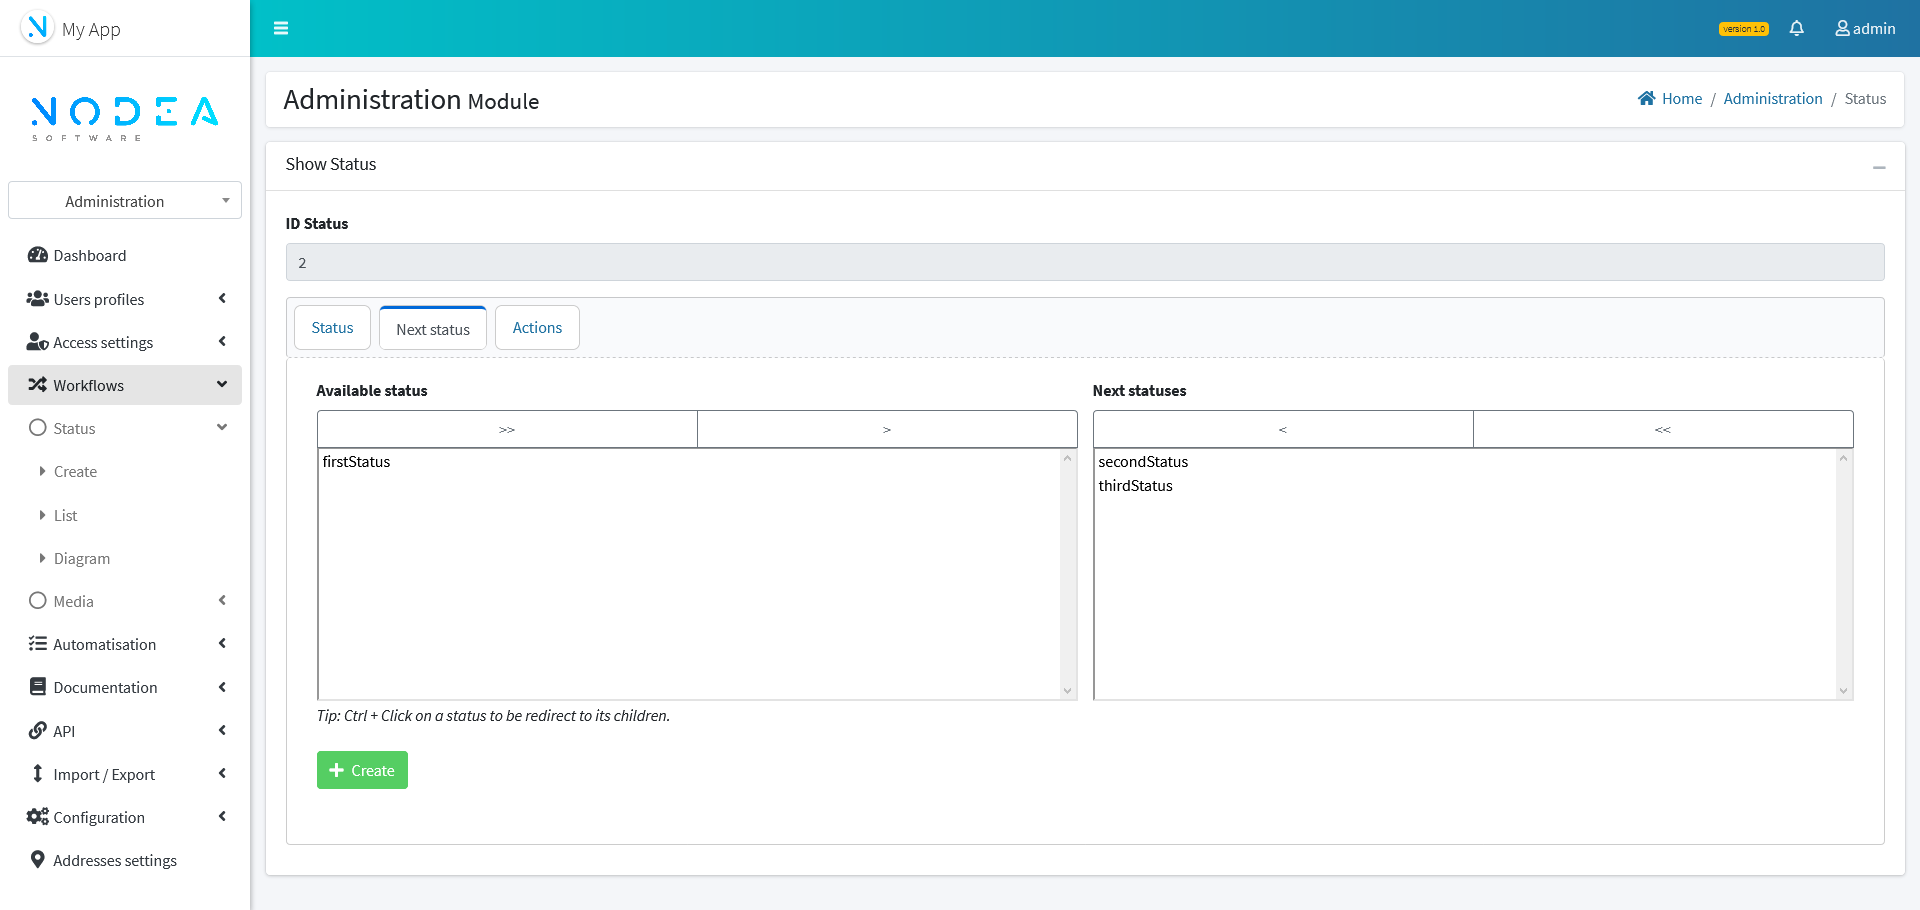
When a status is created, it is necessary to define his position in the workflow. This setting is made on the "Next status" tab.
The column “Available status” display the list of statuses that can be placed as child status. Column Next statuses list the child statuses of the current status. To configure the workflow, you must therefore move the targeted statuses to the next status column.
It is possible to directly create a following status from this tab by clicking on button “Create”.
Media
For each status, it is possible to configure actions triggered by the set status. There are three types of media :
- Notification
- Mail (requires mail configuration )
- SMS (requires sms configuration )
Medias are created and configured from the Media entity available in the "Administration" module.
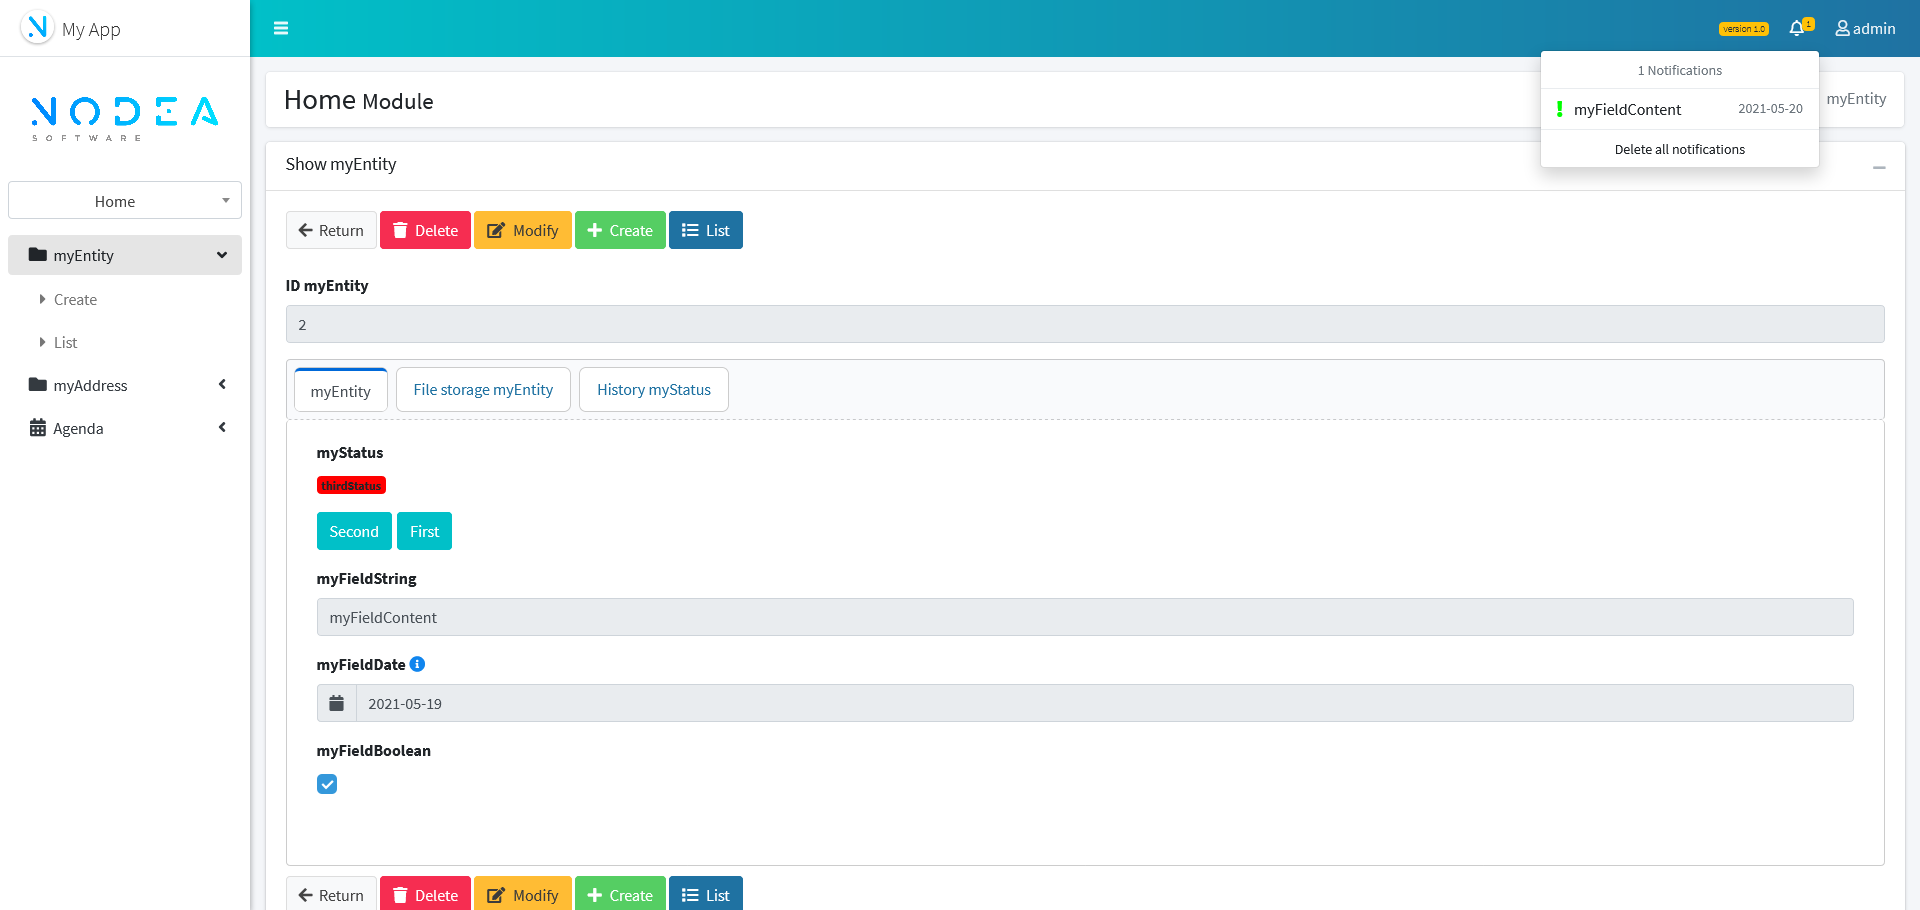
¶ Media Notification
To create a Notification, on the Media create form, select the “Notification” type.
The Title and Description fields can be variable by going up the "targeted entity" fields.
A notification requires a recipient defined by the Targets field of the notification. A recipient can be:
- A user mentioned in the targeted entity
- All users of a group
- A a specific user of application
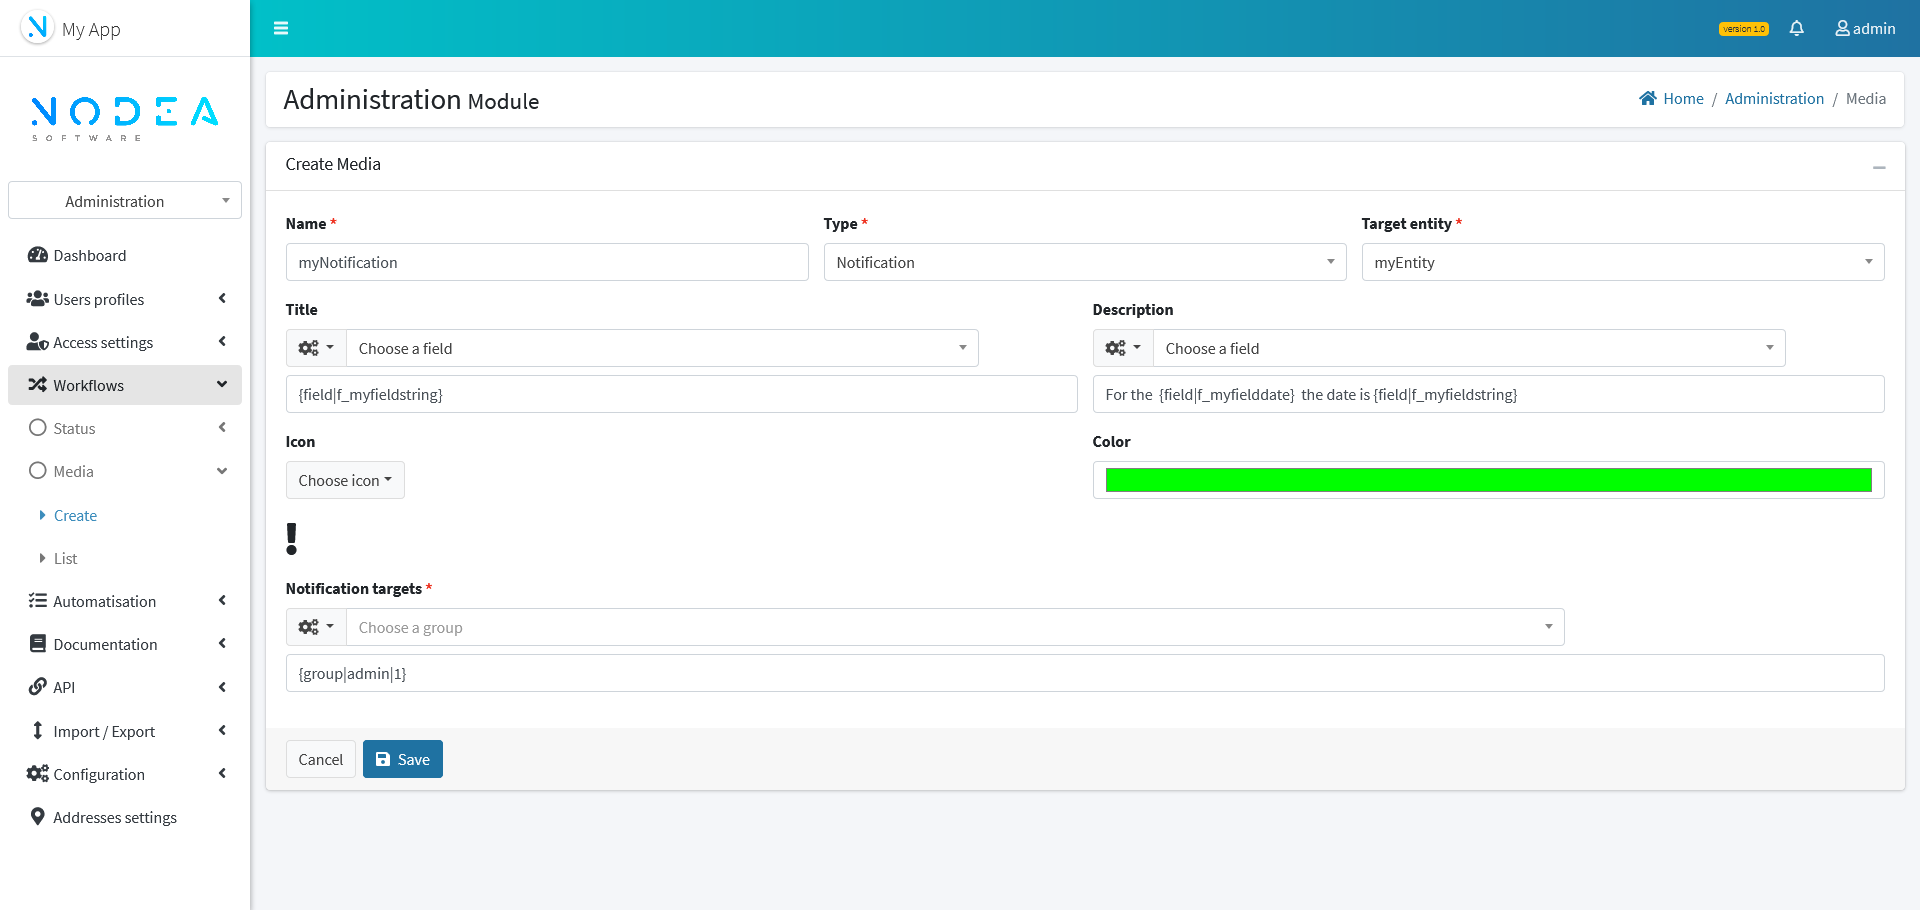
Notifications are alerts visible only in the app.
¶ Media Mail
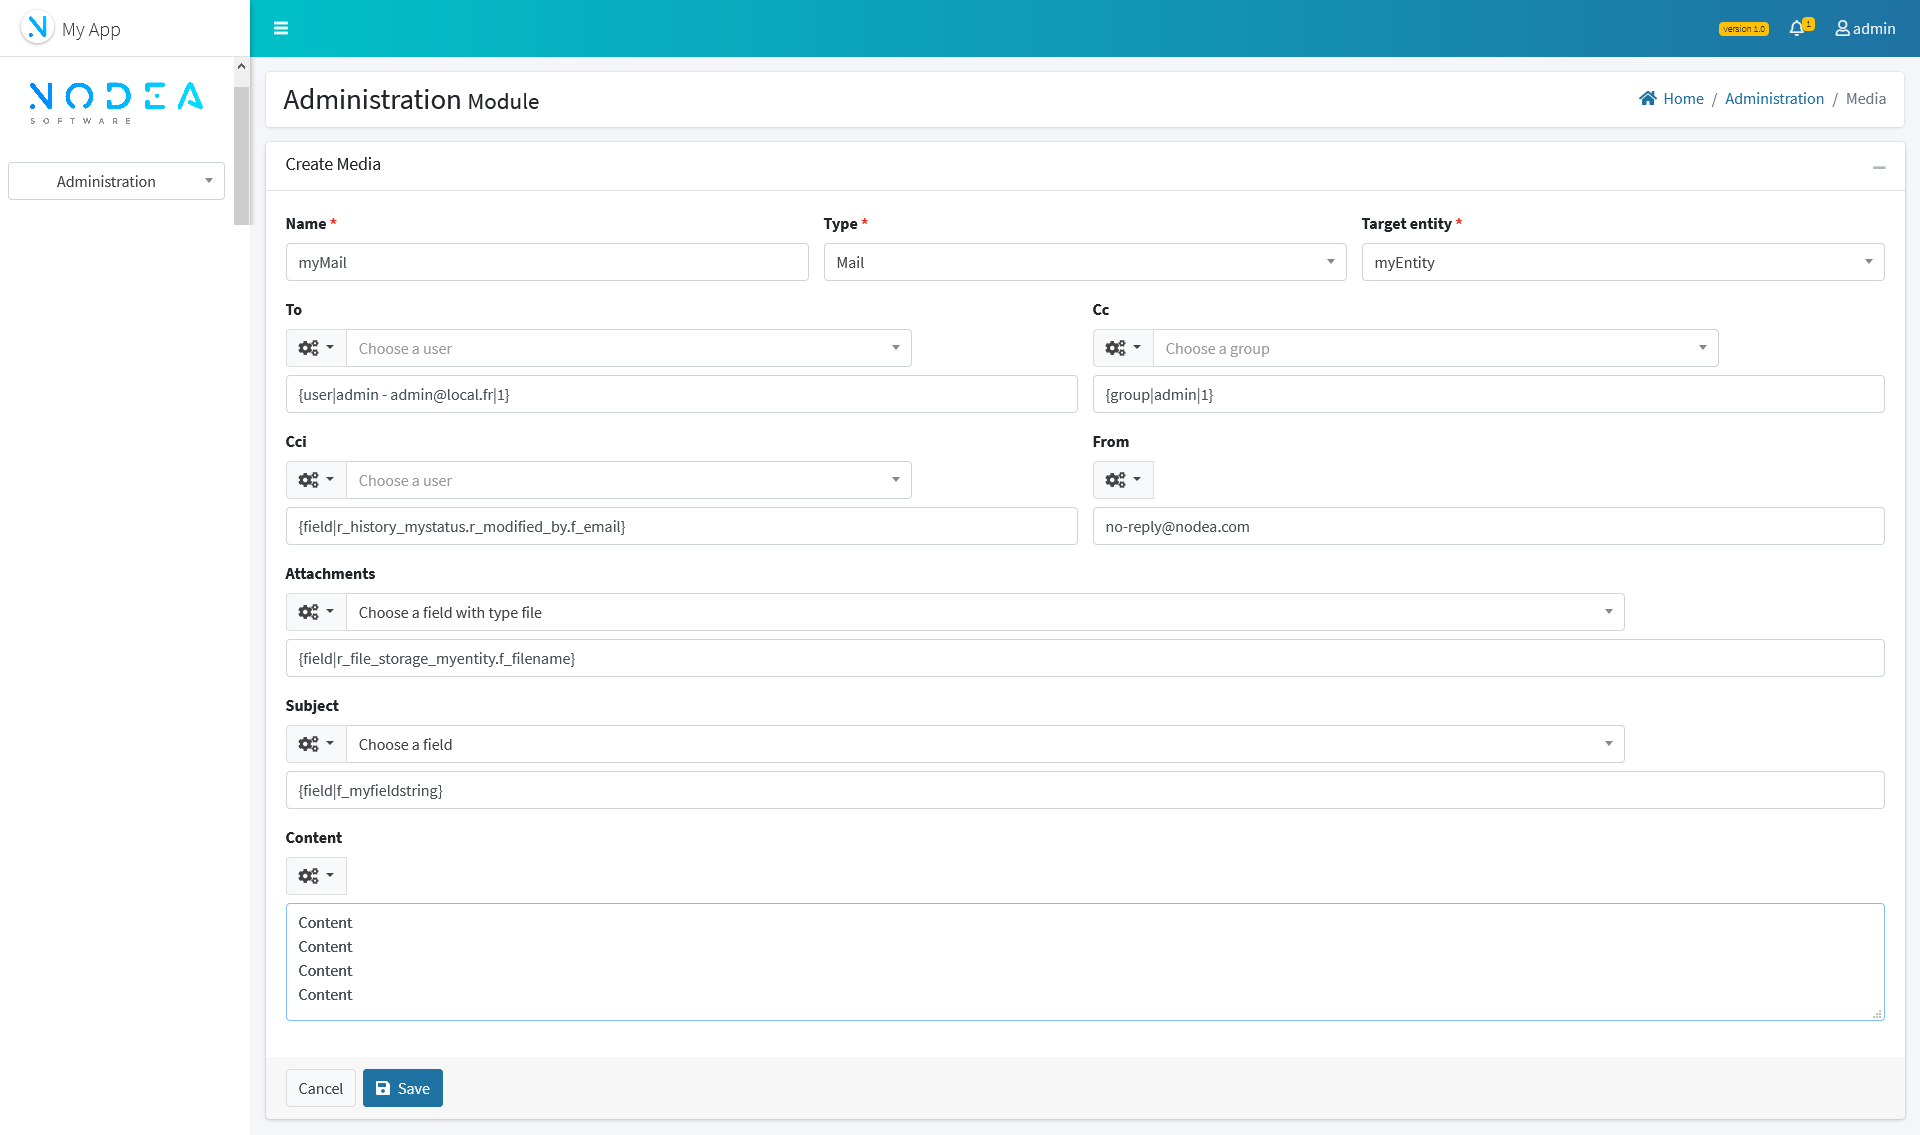
To create a Mail, on the Media create form, select the “Mail” type.
The Subject and Content fields can contain variable from "targeted entity" fields.
The field Attachments is used to send files stored in the target entity as email attachments.
An email requires a defined recipient, which can be :
- A fixed email
- An email mentioned in the targeted entity (email type field)
- All users of a group (with valid mail)
- A specific user of application(with valid mail)
Field Cc, Cci, From behave identically to the recipient field.
¶ Media SMS
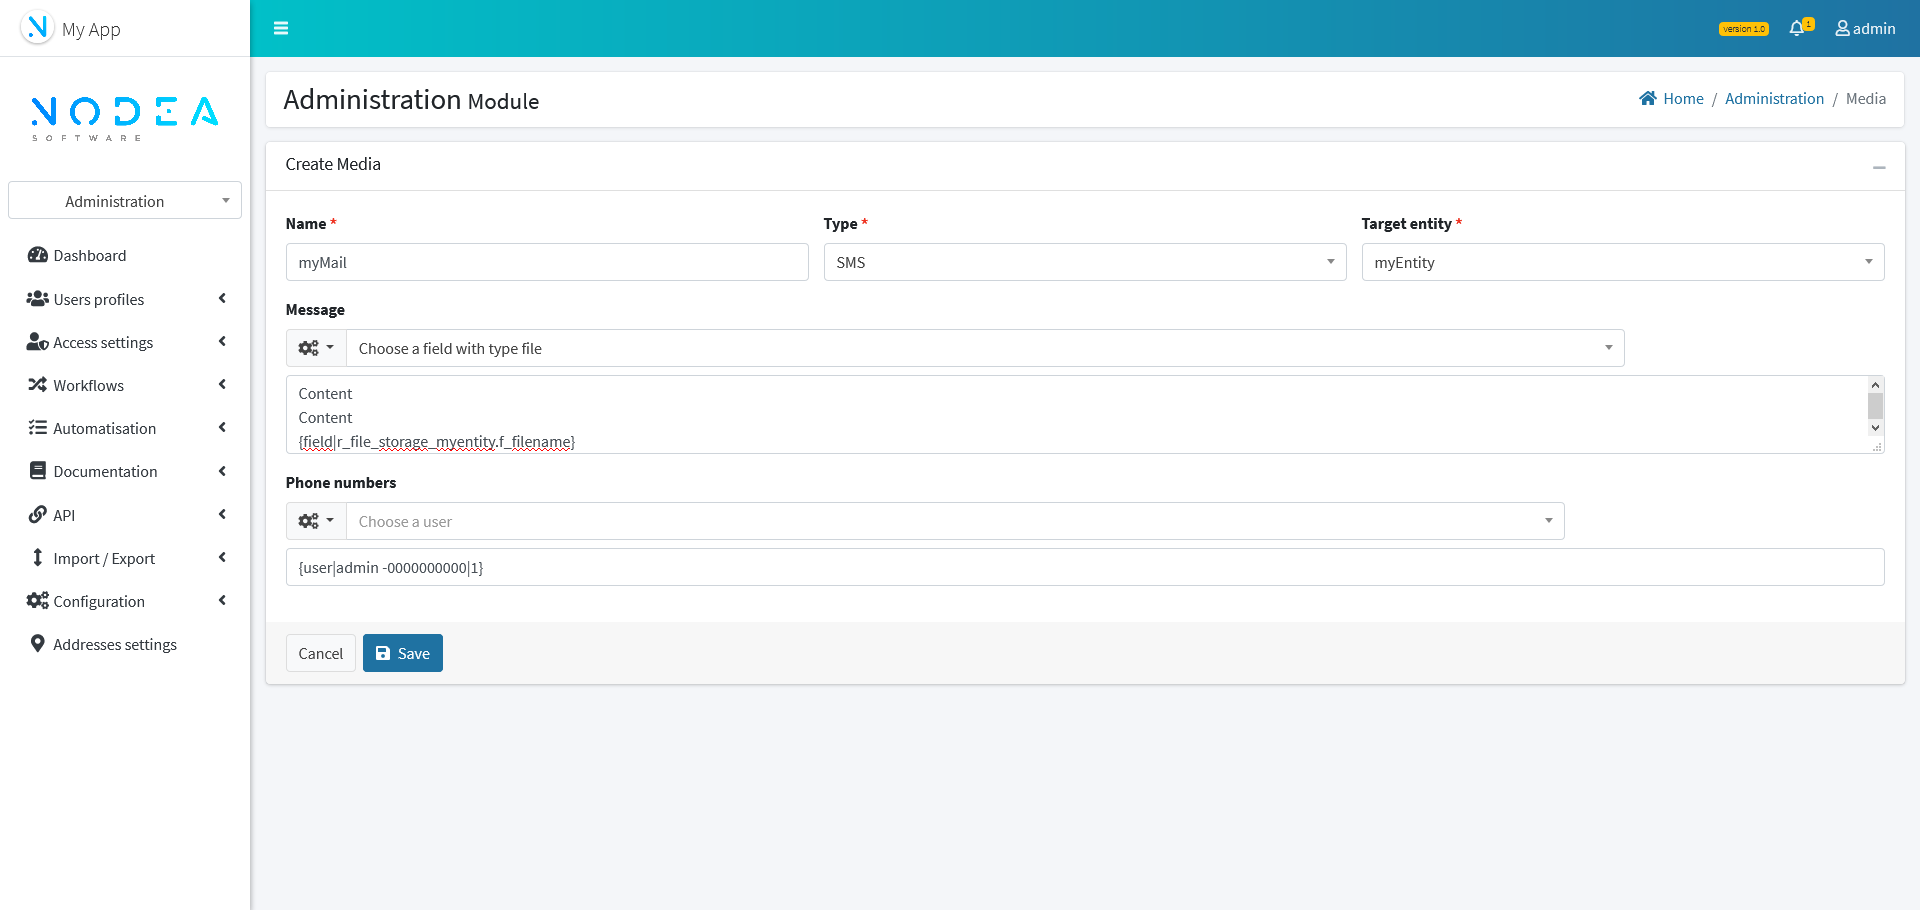
To create a SMS, on the Media create form, select the “SMS” type.
Message field can contain variable from "targeted entity" fields.
An email requires a defined recipient, which can be :
- A fixed phone number
- A phone number mentioned in the targeted entity (phone type field)
- All users of a group (with valid phone number)
- A specific user of application (with valid phone number)
SMS requires configuration to operate.
¶ Configure a media to be triggered on status change
Now that you have configured your media, you can associate it to a status. Media are triggered when status is set for a record of an entity.
Application Documentation
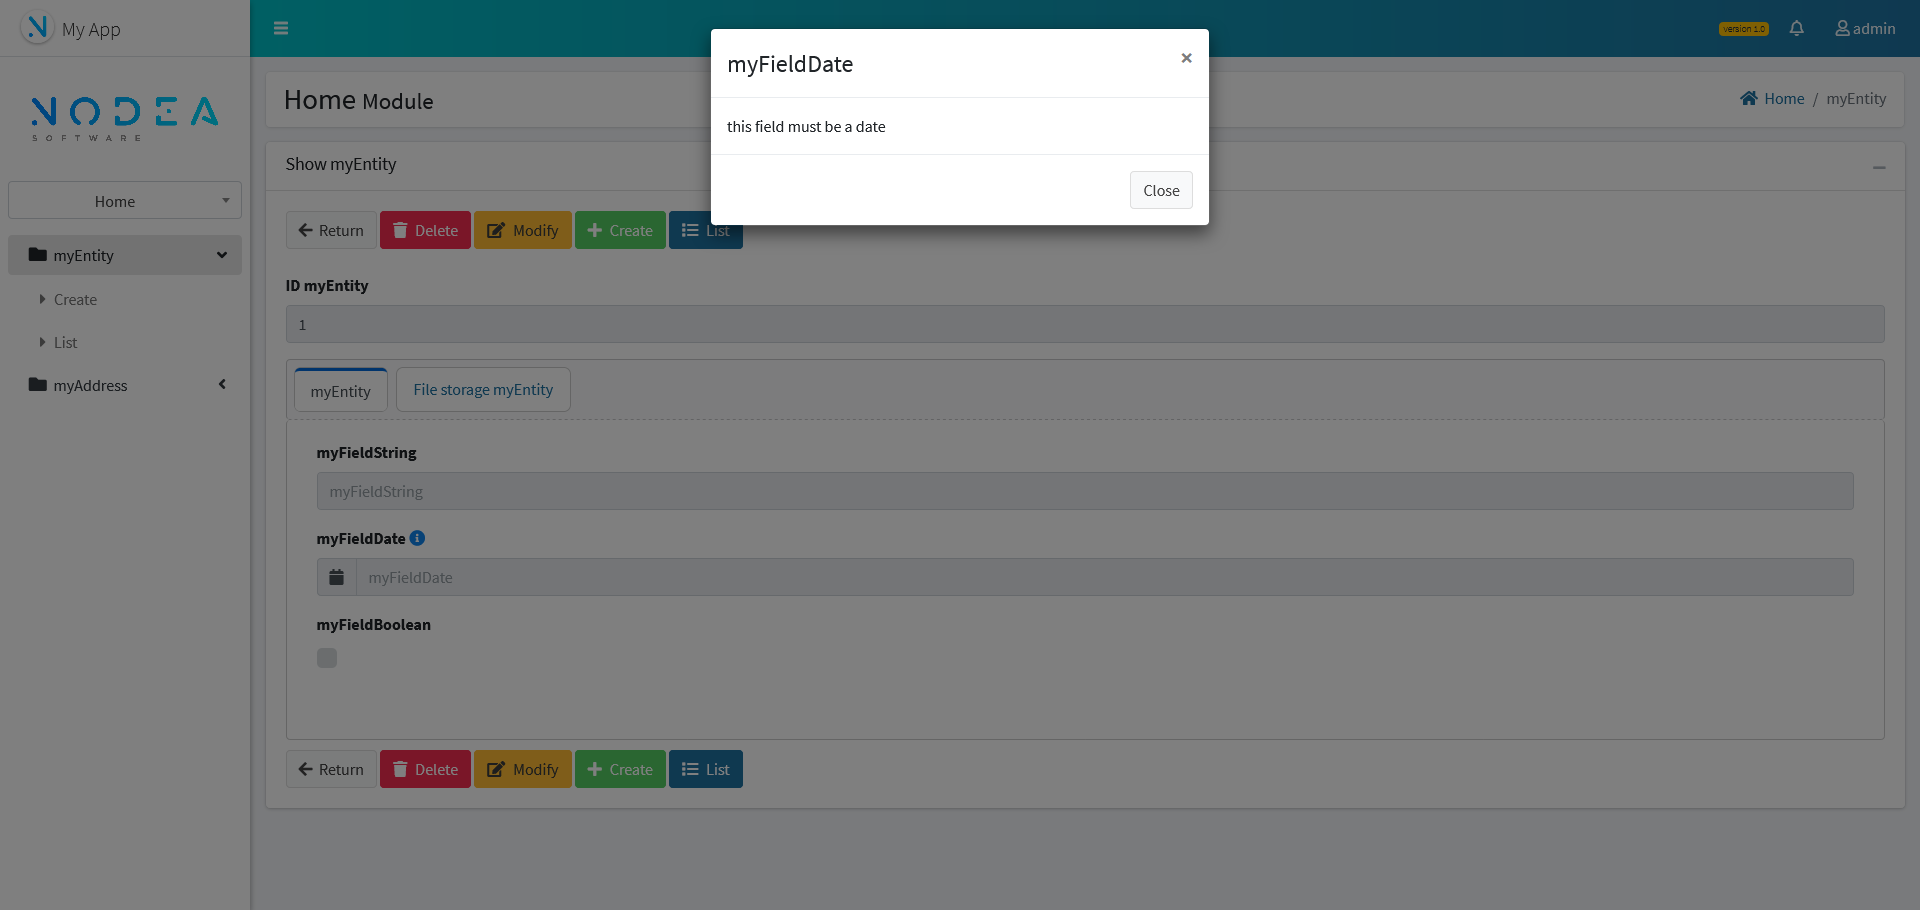
Inline help
Inline help allows to add a question mark icon next to a field's label. Clicking this icon will display an information pop-up. This component is integrated into the creation of an application there is no associated instruction.
Documentation
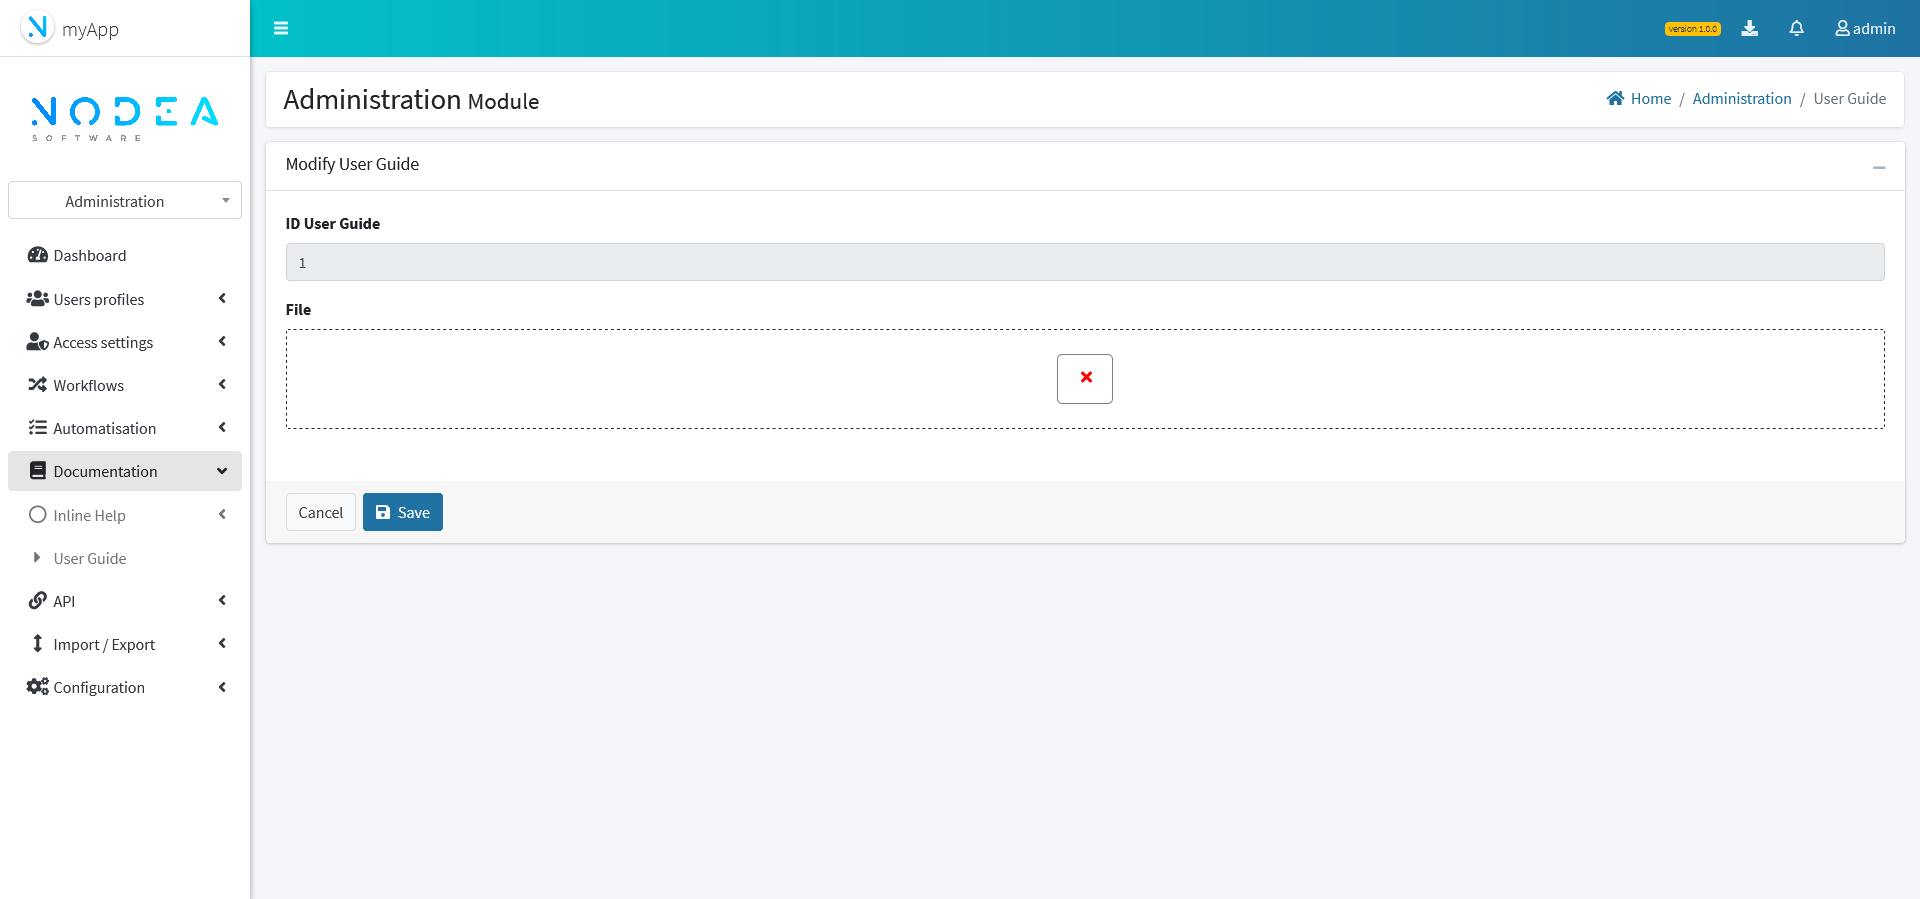
The documentation entity in the administration module is used to upload a user guide in pdf. This document can be downloaded by users from the button in the application header.
Import - Export features
¶ Data of application
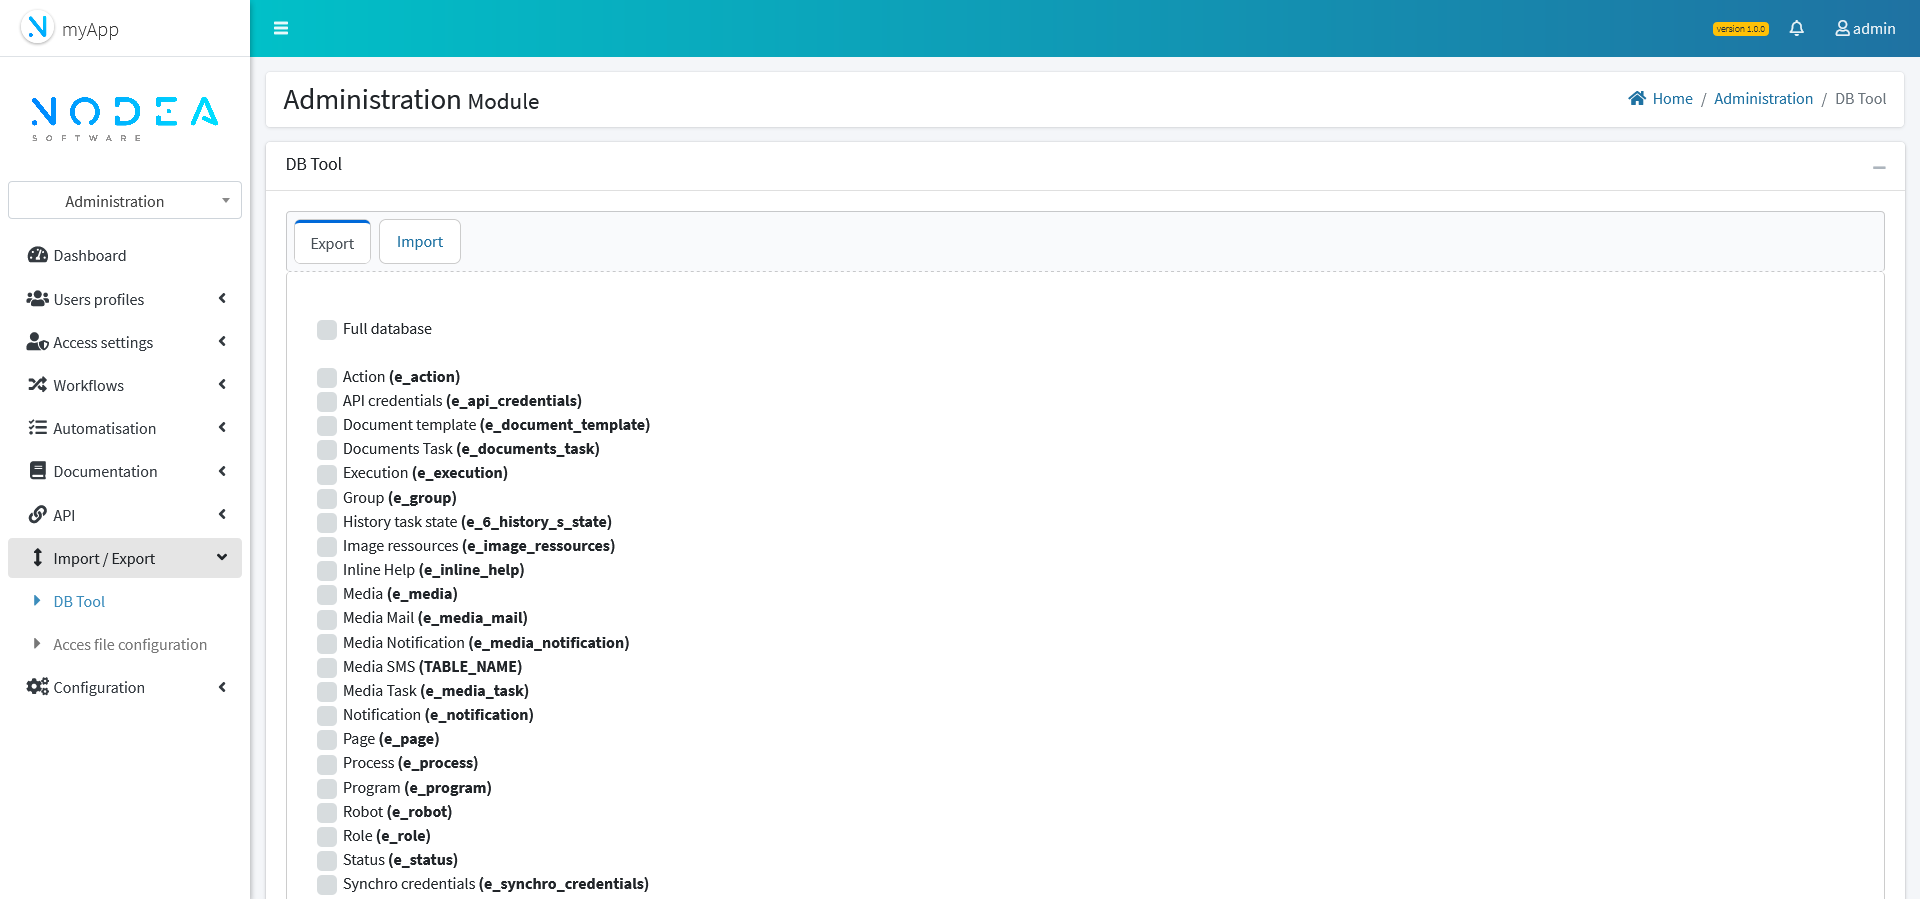
Nodea's applications enable to import/export data from the database. These functions are available in the administration module accessing “DB Tool” menu.
Two tabs are accessible, one is to export selected tables, the other is to import them in a target database.
¶ Access settings
Import - Export second menu enables to export and import access settings of the application. Produced file can be download and uploaded on demand.
APIs
Access
Access to API can be closed or opened according to your needs and security policy.

Credentials
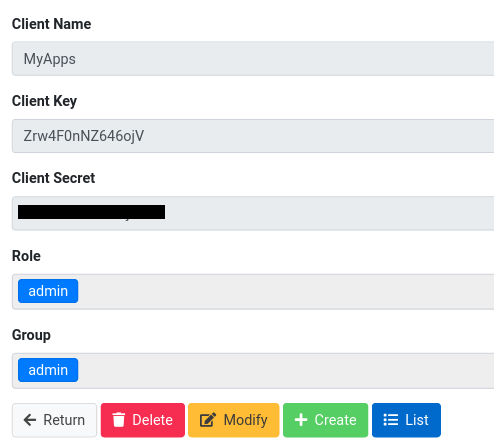
External application can access API services using credentials.
Form submission provides Client key and Client secret codes to use for API service calls.
Auto-generated documentation
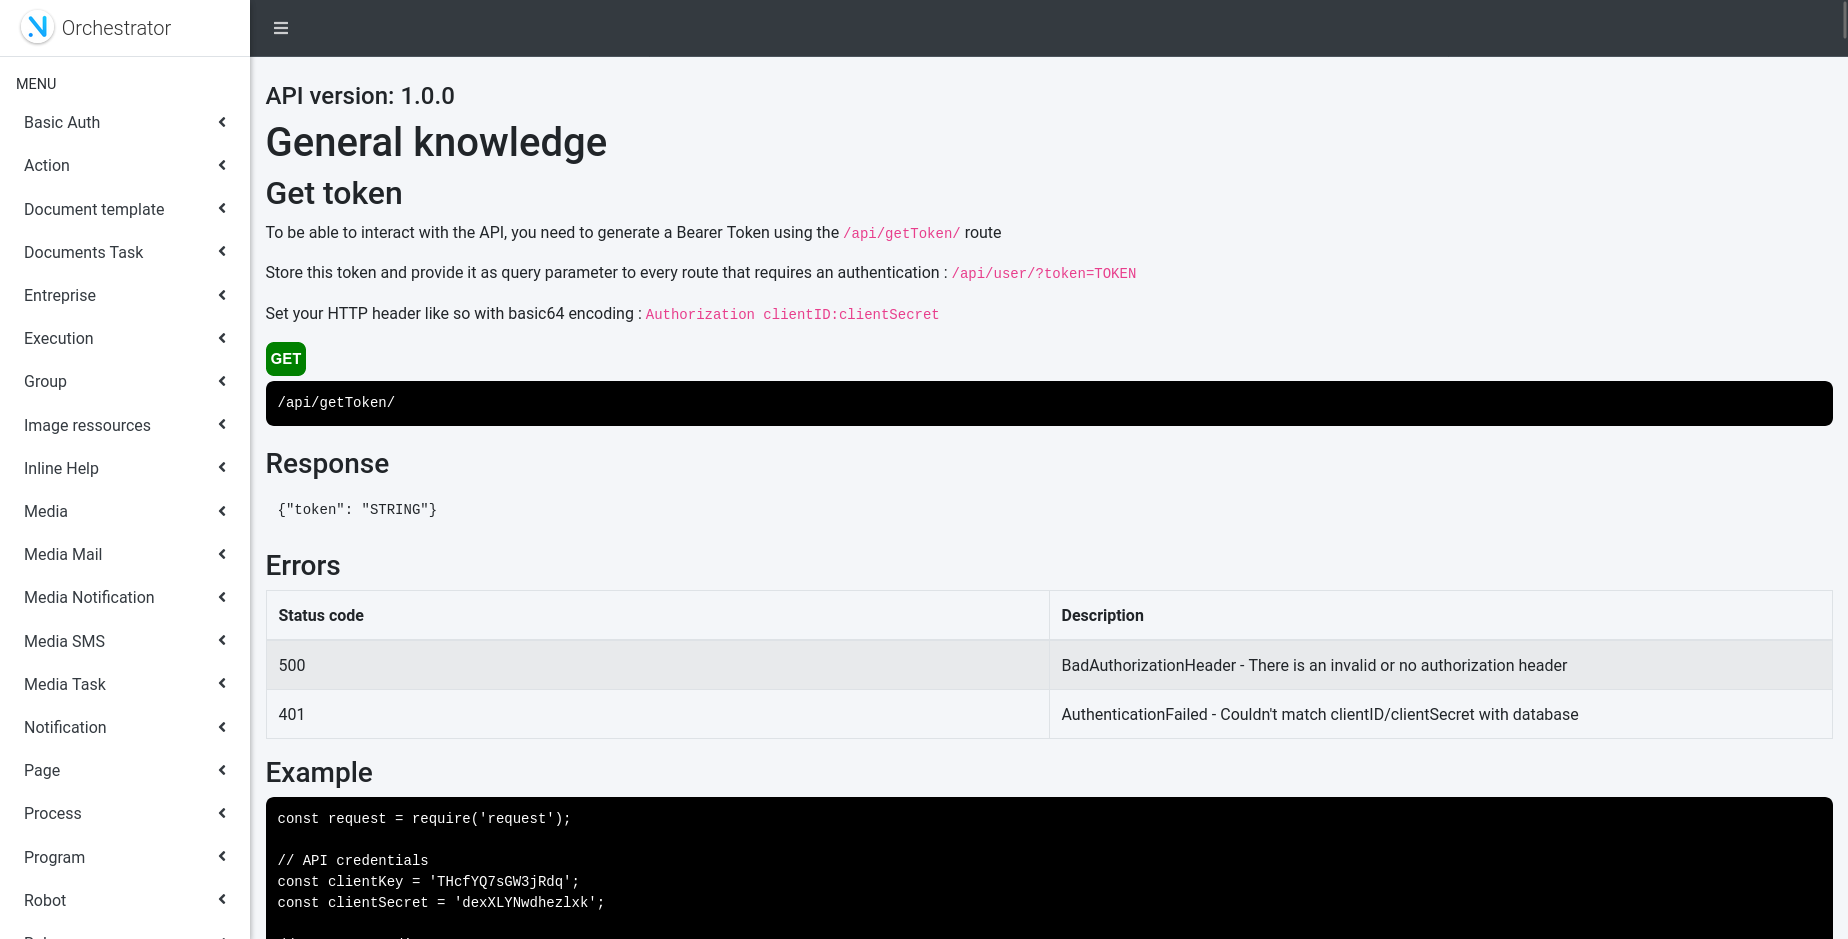
API service signatures are documented online.
¶ Resources Management
¶ Document templates
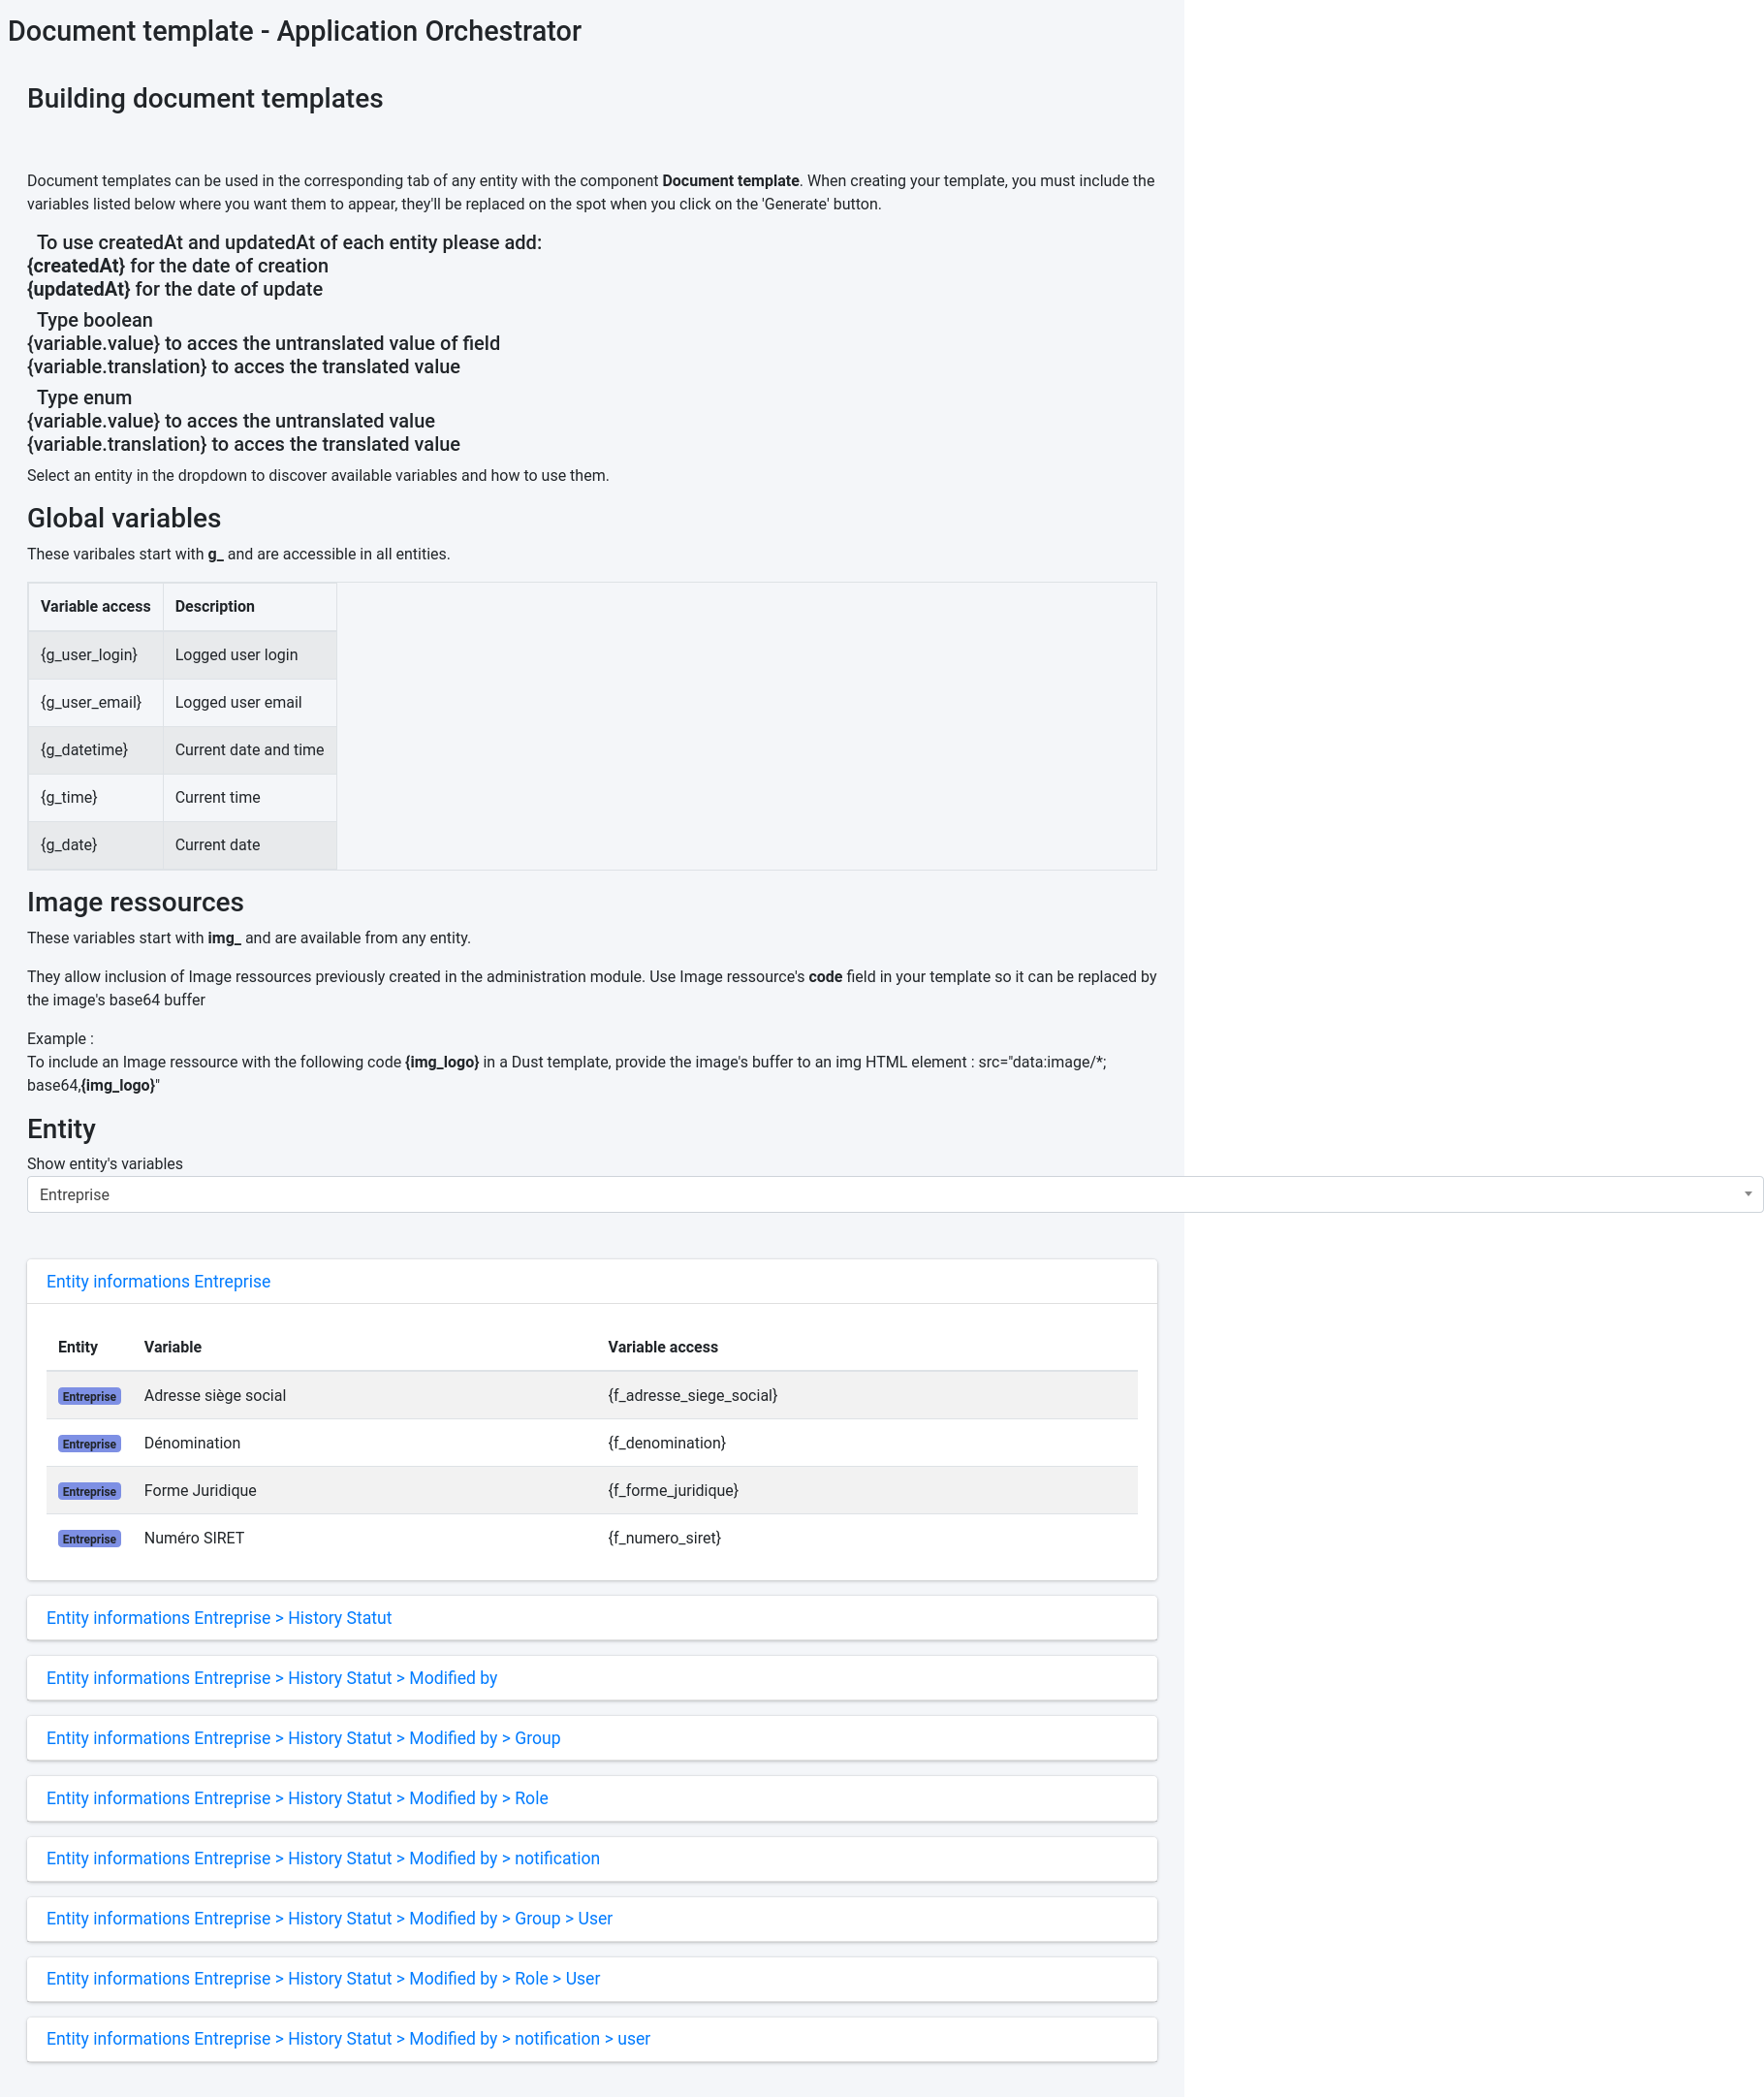
Document templates can be managed by application users using DUST (HTML) and Word templates.
An online help enables to know the variables that can be used to personalize your document.
¶ Images
Images resources used in document templates can be managed directly in same module.