¶ Code quality & Tests
Our desire in the implementation of these test tools was to provide developers with the necessary tools and a self-generated base of tests in order to initially cover a standard base of the application and especially secondly to simplify the writing and maintaining tests for the developer.
¶ ESLint
Eslint documentation: https://eslint.org/docs/latest/
¶ Presentation
We use ESLint as a linter to validate syntax and development standards within the code.
You will find 2 configuration files regarding ESLint in your generated applications:
- .eslintignore
- .eslintrc.json
¶ Run
To run ESLint in your application just do the following command:
npm run lint
¶ Jest
Jest documentation: https://jestjs.io/docs/getting-started
¶ Presentation
We have integrated JEST unit test generation in parallel with the generation of your application.
Today we automatically generate the tests for the entities provided in your application (so via the instruction add entity ...)
These recommended tests currently set an entity's default routes:
- GET - LIST
- POST - DATALIST
- POST - SUBDATALIST
- GET - SHOW
- GET - CREATE
- POST - CREATE
- GET - UPDATE
- POST - UPDATE
- GET - LOADTAB
- GET - SET_STATUS
- POST - SEARCH
- POST - FIELDSET_ADD
- POST - FIELDSET_REMOVE
- POST - DELETE
They are used to validate that the native behavior of an entity works correctly.
The objective is to offer the developers of the application an existing test base on which they can rely to add and adapt new tests in order to cover as much code as possible.
¶ Location
Configuration file: jest.config.js
Setup file: jest.setup.js
Tests files: @app/tests/jest/
Please add .test.js extension for the new test file to be correctly found by Jest.
¶ Writing tests
You can of course write your own test to add directly to the @app/tests/jest folder.
Please add .test.js extension for the new test file to be correctly found by Jest.
¶ Run
Test are run on NODEA_ENV=test, so please make sure that your application is ready to be connected to a database using this environnement. Check your @config/database.js in order to setup the right user, password and database name for the test env.
Running test will reset all data in your test database specified in the test config, so please make sure that you have nothing to save before or maybe prepare another test database
If you have a app/sql/setup.sql file in your application it will be executed before running tests. Usefull if you need to set up default/referencial data in your database.
Once your test database is ready you can run the command:
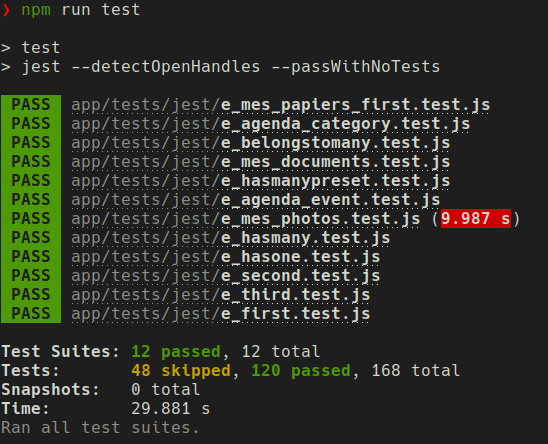
npm run test
Hopefully all the test will be running and responding with a green light:

¶ Cypress
Cypress documentation: https://docs.cypress.io
¶ Presentation
Where Jest covers unit testing of applications, Cypress covers functional testing. The objective is to test the client part of your application in order to report any javascript error or other inconsistency in the navigation of your application.
¶ Location
Configuration file: cypress.config.js
Setup file: @app/tests/cypress/setup.js
Generated tests files: @app/tests/cypress/e2e/generated/
Custom tests files: @app/tests/cypress/e2e/
Please add .cy.js extension for the new test file to be correctly found by Cypress.
¶ Generating tests
Unlike Jest integration with Nodea, Cypress tests are not generated at the same time as the application.
Before testing please prepare a test database and check the @config/database.js on the "Test" env to connect it correctly.
Before executing tests, you will have to generate or write them.
To generate tests you have to execute the @app/tests/cypress/setup.js.
¶ What does this script do?
This script will generate Cypress tests based on the entities available in the application as well as the users present in the application's "test" environment database.
To run the script just run the following command:
cd PATH_TO_YOUR_APPLICATION
node app/tests/cypress/setup.js
You can also reset the test database with this script by adding the reset command:
node app/tests/cypress/setup.js reset
If you have a app/sql/setup.sql file in your application it will be executed after resetting the database in order to fill up needed default/referencial data for testing.
The generated files will be based on the files present in @app/tests/cypress/template and place the generated files in @app/tests/cypress/e2e/generated.
By default generated Cypress tests will cover:
- Login and first connection
- Access each module and test all available url
- For each entity:
- Access, complete and execute the creation form
- Go through the list, test pagination, ordering filters and search filters
- Access the entity show, browses all tabs and tests all forms and lists
- Access, complete and execute the update form
¶ Writing tests
You can of course write your own test to add directly to the @app/tests/cypress/e2e folder.
Please add .cy.js extension for the new test file to be correctly found by Cypress.
We have developed Cypress commands to simplify testing:
¶ cy.login(login, password)
Allows you to log in to the application. In the generated tests this command is called in a hook beforeEach test
¶ cy.fillForm(form_selector, attributes, relations)
Allows you to fill out a designated form based on the attributes and relationships of a specific entity.
¶ cy.testDatatable(datatable_selector)
Allows you to test a datatable in its entirety.
¶ cy.handleHasOneTab(tab, tab_relation, attributes, relations)
Allows you to test a tab of type hasOne
¶ cy.handleHasManyTab(tab, tab_relation, attributes, relations)
Allows you to test a tab of type hasMany
For more information you can find the code of them in @app/tests/cypress/support/commands.js
¶ Run
Today we have 2 ways to launch Cypress.
¶ The graphic way
First, launch your application in a test environment:
NODEA_ENV=test node server
The default Cypress configuration will look for the application on http://127.0.0.1:1337, if you want to change that just go and modify the cypress.config.js file
And then execute aside the command to launch Cypress:
npx cypress open
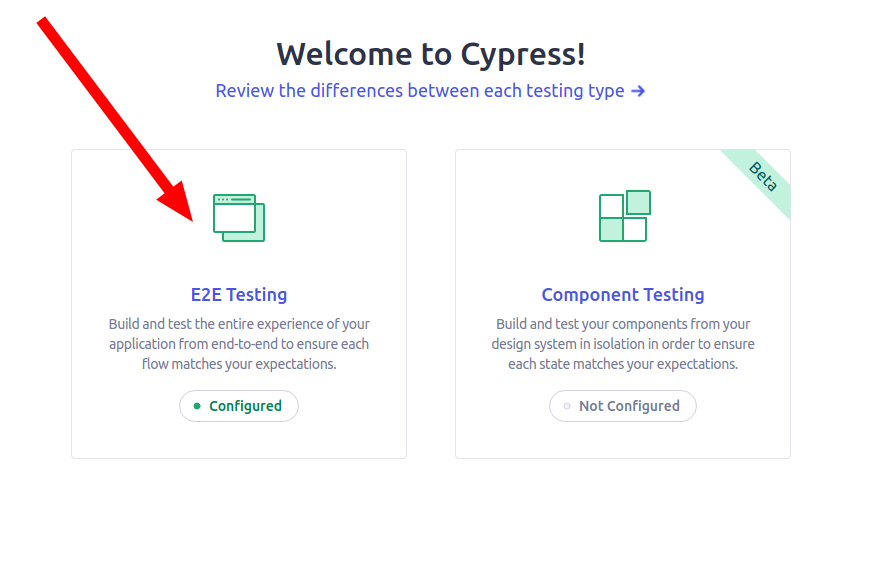
A window will appear asking you to choose between E2E Testing and Component Testing.

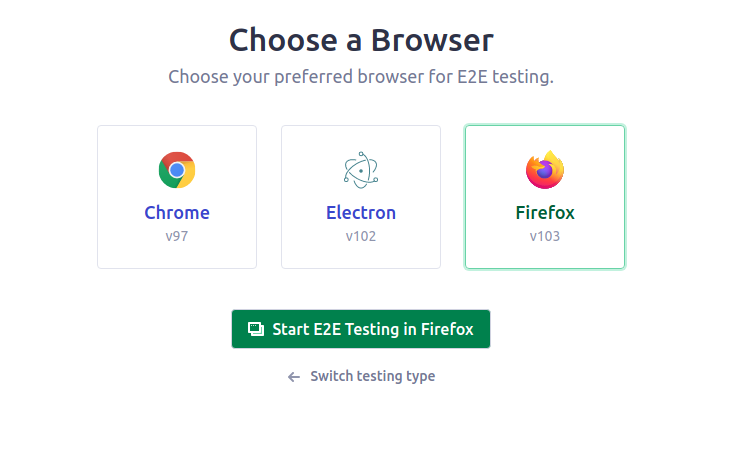
You choose E2E Testing and another window will appear asking you on which browser to run the tests: the choice is yours.

And then you can choose which test to run. You will find an all.cy.js file that includes all the generated files if you want to run all the tests.

¶ The console way
Make sure your application is not already running and execute the command:
npm run cypress
It will launch your application on PM2, and then execute all the cypress test in command line.
If you have any problem or if you want to cut off the process don't forget to run the command to delete the pm2 process of your application:
pm2 delete server